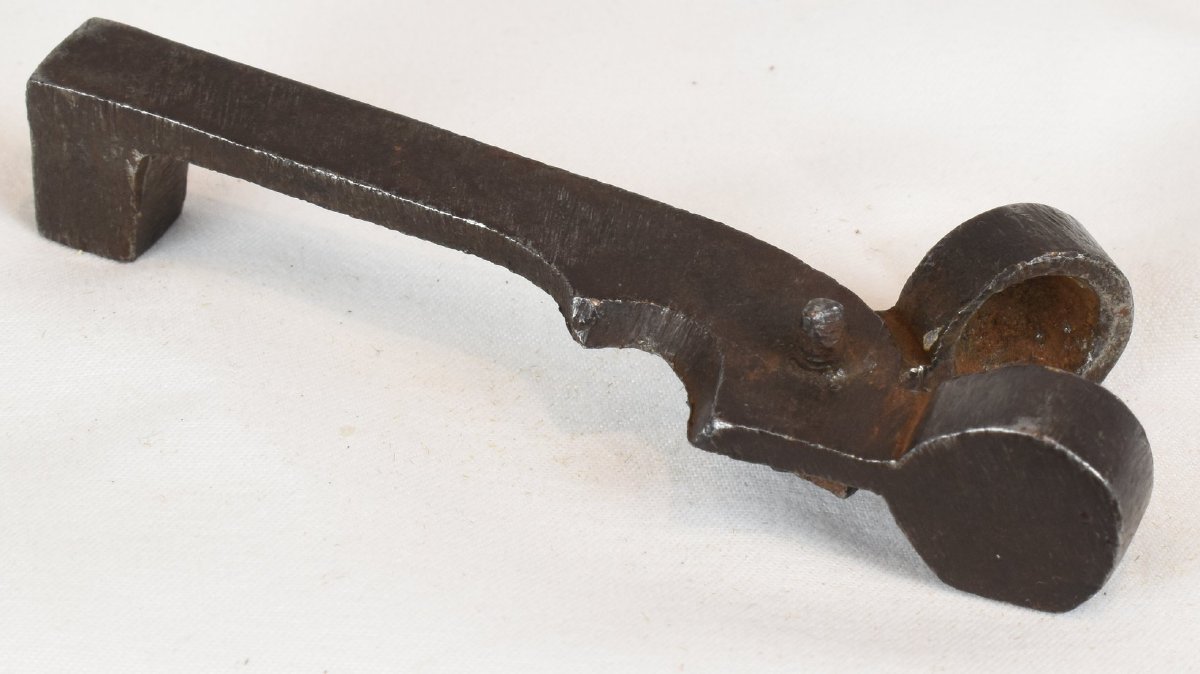
Bullet Mold: Bullet Mold. (Courtesy of Arlington Historical Society)

Bullet Mold: Bullet Mold. (Courtesy of Arlington Historical Society)

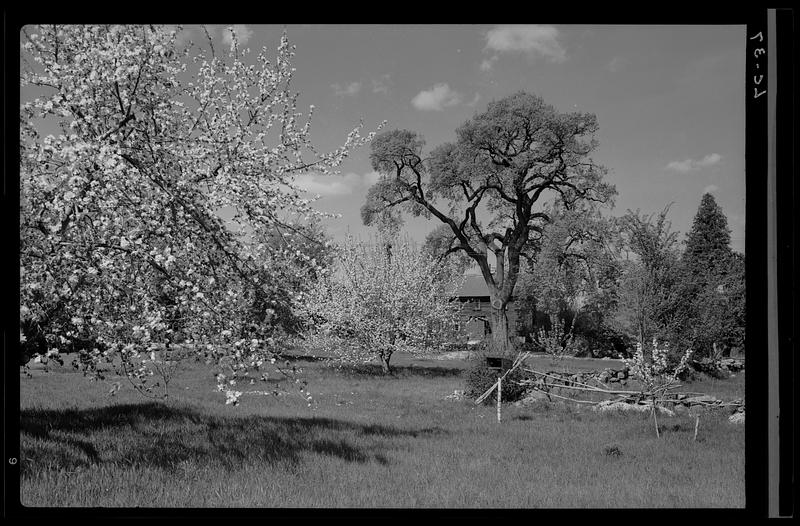
Battle Road: Along the Battle Road – The Hartwell Farm in Lincoln. Chamberlain, Samuel, Photograph, 1928–1940.  (Courtesy of Philips Library at the Peabody Exeter Museum and Digital Commonwealth) 
Copyright undetermined, no known restrictions https://ark.digitalcommonwealth.org/ark:/50959/rx916f85q

Battle Road: Along the Battle Road – The Hartwell Farm in Lincoln. Chamberlain, Samuel, Photograph, 1928–1940. (Courtesy of Philips Library at the Peabody Exeter Museum and Digital Commonwealth) Copyright undetermined, no known restrictions https://ark.digitalcommonwealth.org/ark:/50959/rx916f85q

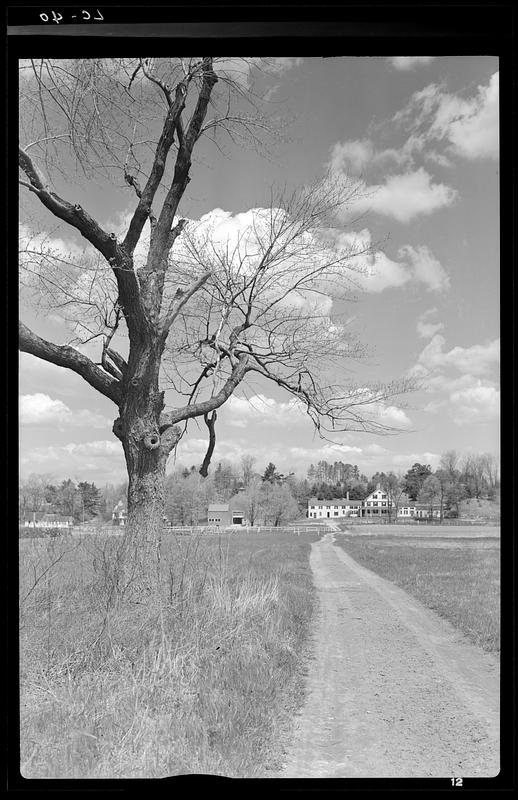
Field: Field of Concord – Scene of the British Retreat. Courtesy of the Phillips Library at the Peabody Essex Museum. Chamberlain, Samuel, 1928-1940. (Samuel Chamberlain Photograph Negatives Collection. Courtesy of Phillips Library, Peabody Essex Museum, Rowley, MA and Digital Commonwealth)

Field: Field of Concord – Scene of the British Retreat. Courtesy of the Phillips Library at the Peabody Essex Museum. Chamberlain, Samuel, 1928-1940. (Samuel Chamberlain Photograph Negatives Collection. Courtesy of Phillips Library, Peabody Essex Museum, Rowley, MA and Digital Commonwealth)

After the shock of the first ambush, the British rear guard formed to hold off the swarming provincials while the light infantry companies of the 10th, 4th, and 5th Regiments pushed further up and rounded the second bend in the road.

Here they were met by the Woburn militia, some 200 strong. This marked the fiercest fighting on Battle Road.

"We came to Tanner Brook, at Lincoln Bridge, and concluded to scatter and make use of the trees and walls for to defend us and attack them, We pursued on flanking them . . . I had several good shots. The enemy left many dead and wounded and a few tired"

Maj. Loammi Balwin
Sources